
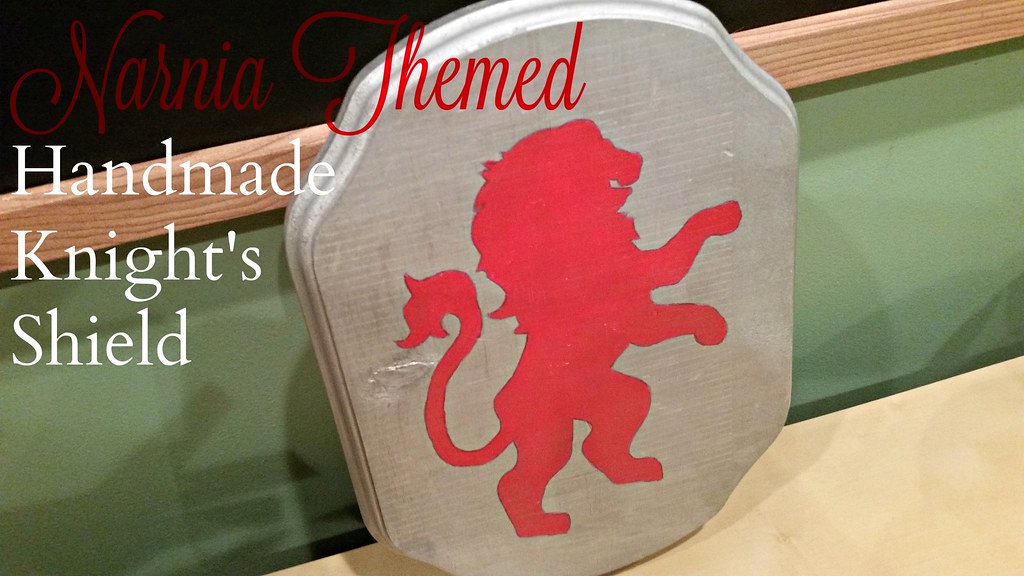
halloween costume - part II - handmade narnia themed knight's shield
12:13 PM
 It has been a grueling past two weeks, full of household remodeling, hours at work, and me trying my best to get back into my gym & running routine. And despite the lack of sleep from the anxiety and clutter that are part of "construction," I am slowly getting things done. This includes adding more to E's Halloween costume. The stores are busy with candy and costumes and we have already gone through The Great Pumpkin movie at least a hundred times, so I know I only have a little time to get my act together.
I have been working on the chain mail hat/crown piece slowly but surely. With a little one who despises having anything on his head, that part will definitely be taking up more time that it should. Thus, I turned to something more simple: the shield. This piece was probably the easiest to put together; actually, there was little effort at all. Just a steady hand and a place to paint.
Inspiration:
Just like part one of this three-part Halloween Costume series, I took my inspiration from this lovely (and I mean lovely) blog from At The Picket Fence. This AMAZING mom threw an AMAZING Narnia party that would make any kid jealous, so definitely check her page out.Supplies:
- wood display base
- spray paint in desired color ( I used acrylic silver )
- stencil
- red acrylic paint ( or other desired color )
- fine paintbrush
- polyurethane
- construction staples or small tack nails
- scrap cloth thick enough to make a handle
- sewing machine & thread (or needle to hand sew)
The Project:
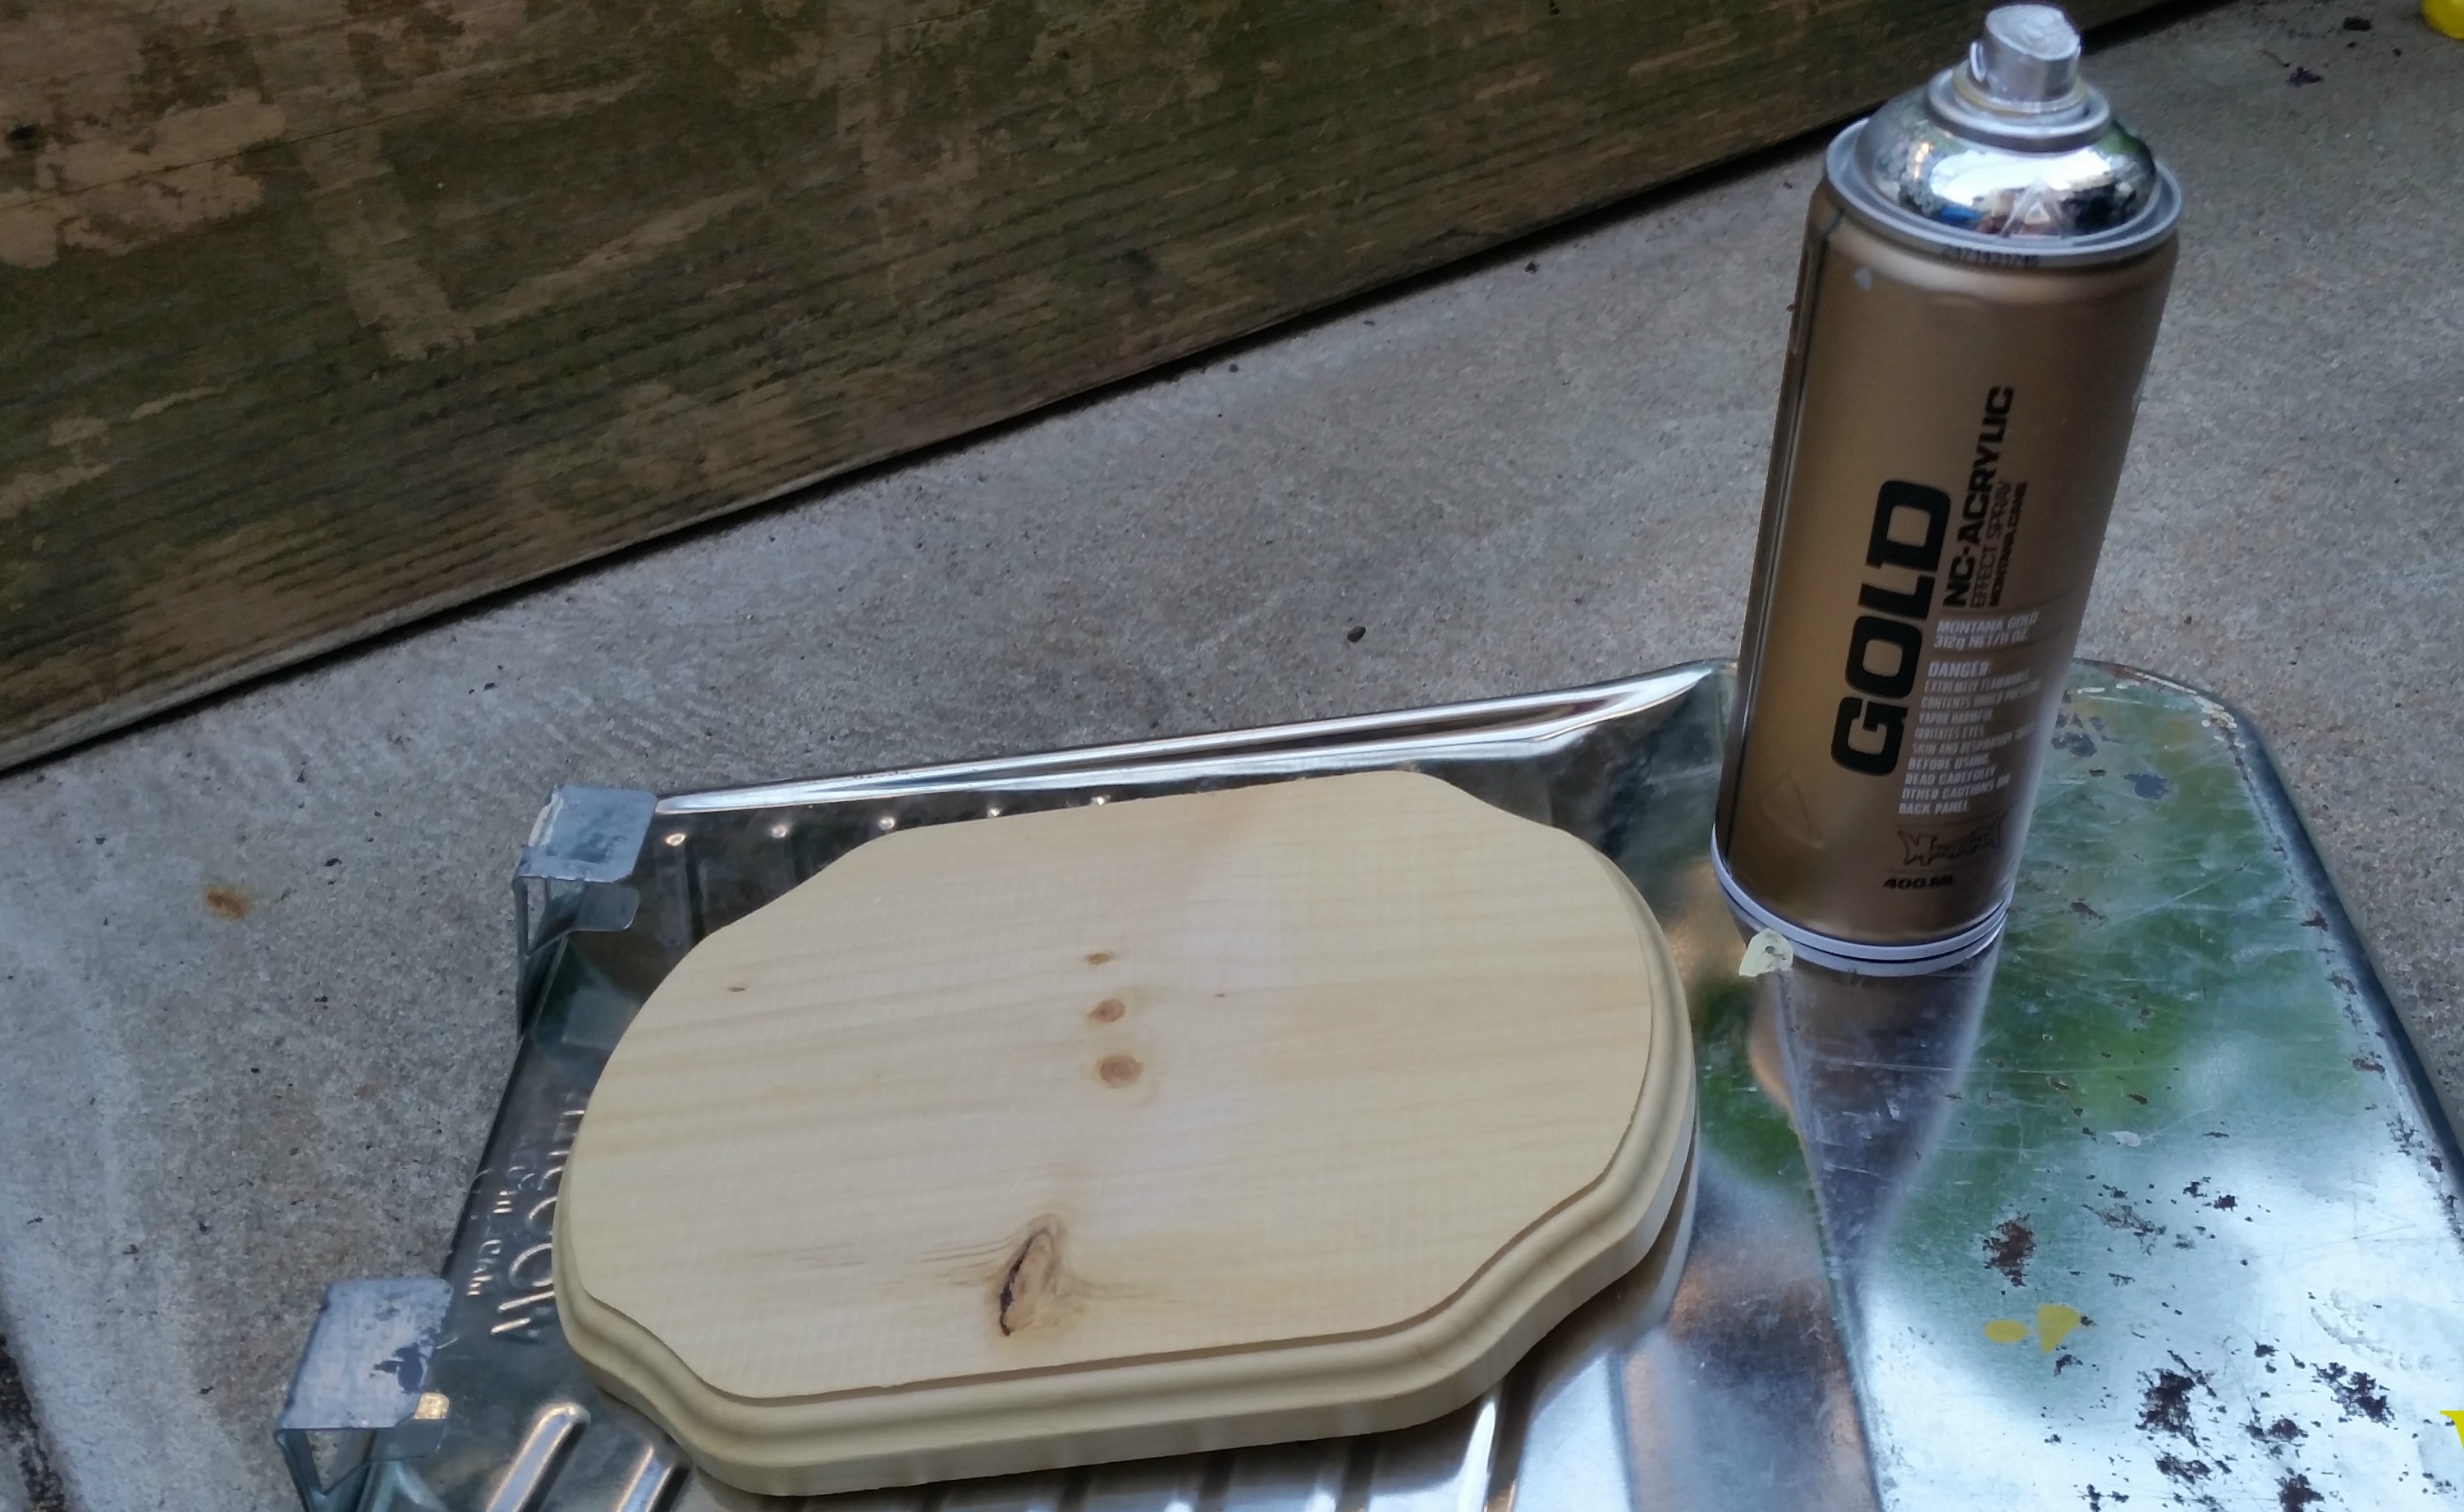 Using one of those "wood block things" from the craft store that are typically used for displaying purposes (I always image taxidermy when I see them), I crafted a shield small enough for a toddler of the tiny-variety. Some silver spray paint, the same stencil from the smock, a paintbrush, some red acrylic, a piece of leftover fabric, and some small tack nails were what I used for this project.
After two generous coats of silver paint (wood is porous and this piece was not primed), I allowed the shield to dry overnight outside (where it was cooler and kept the fumes from the house). I applied the stencil and traced with a pencil to outline. Some bold, red acrylic paint worked wonderfully to bring out the piece's authenticity. I was pleased, also, at the steadiness of my hand, since I had not done any "fine" painting in quite some time. (Walls and ceilings don't count as art!)
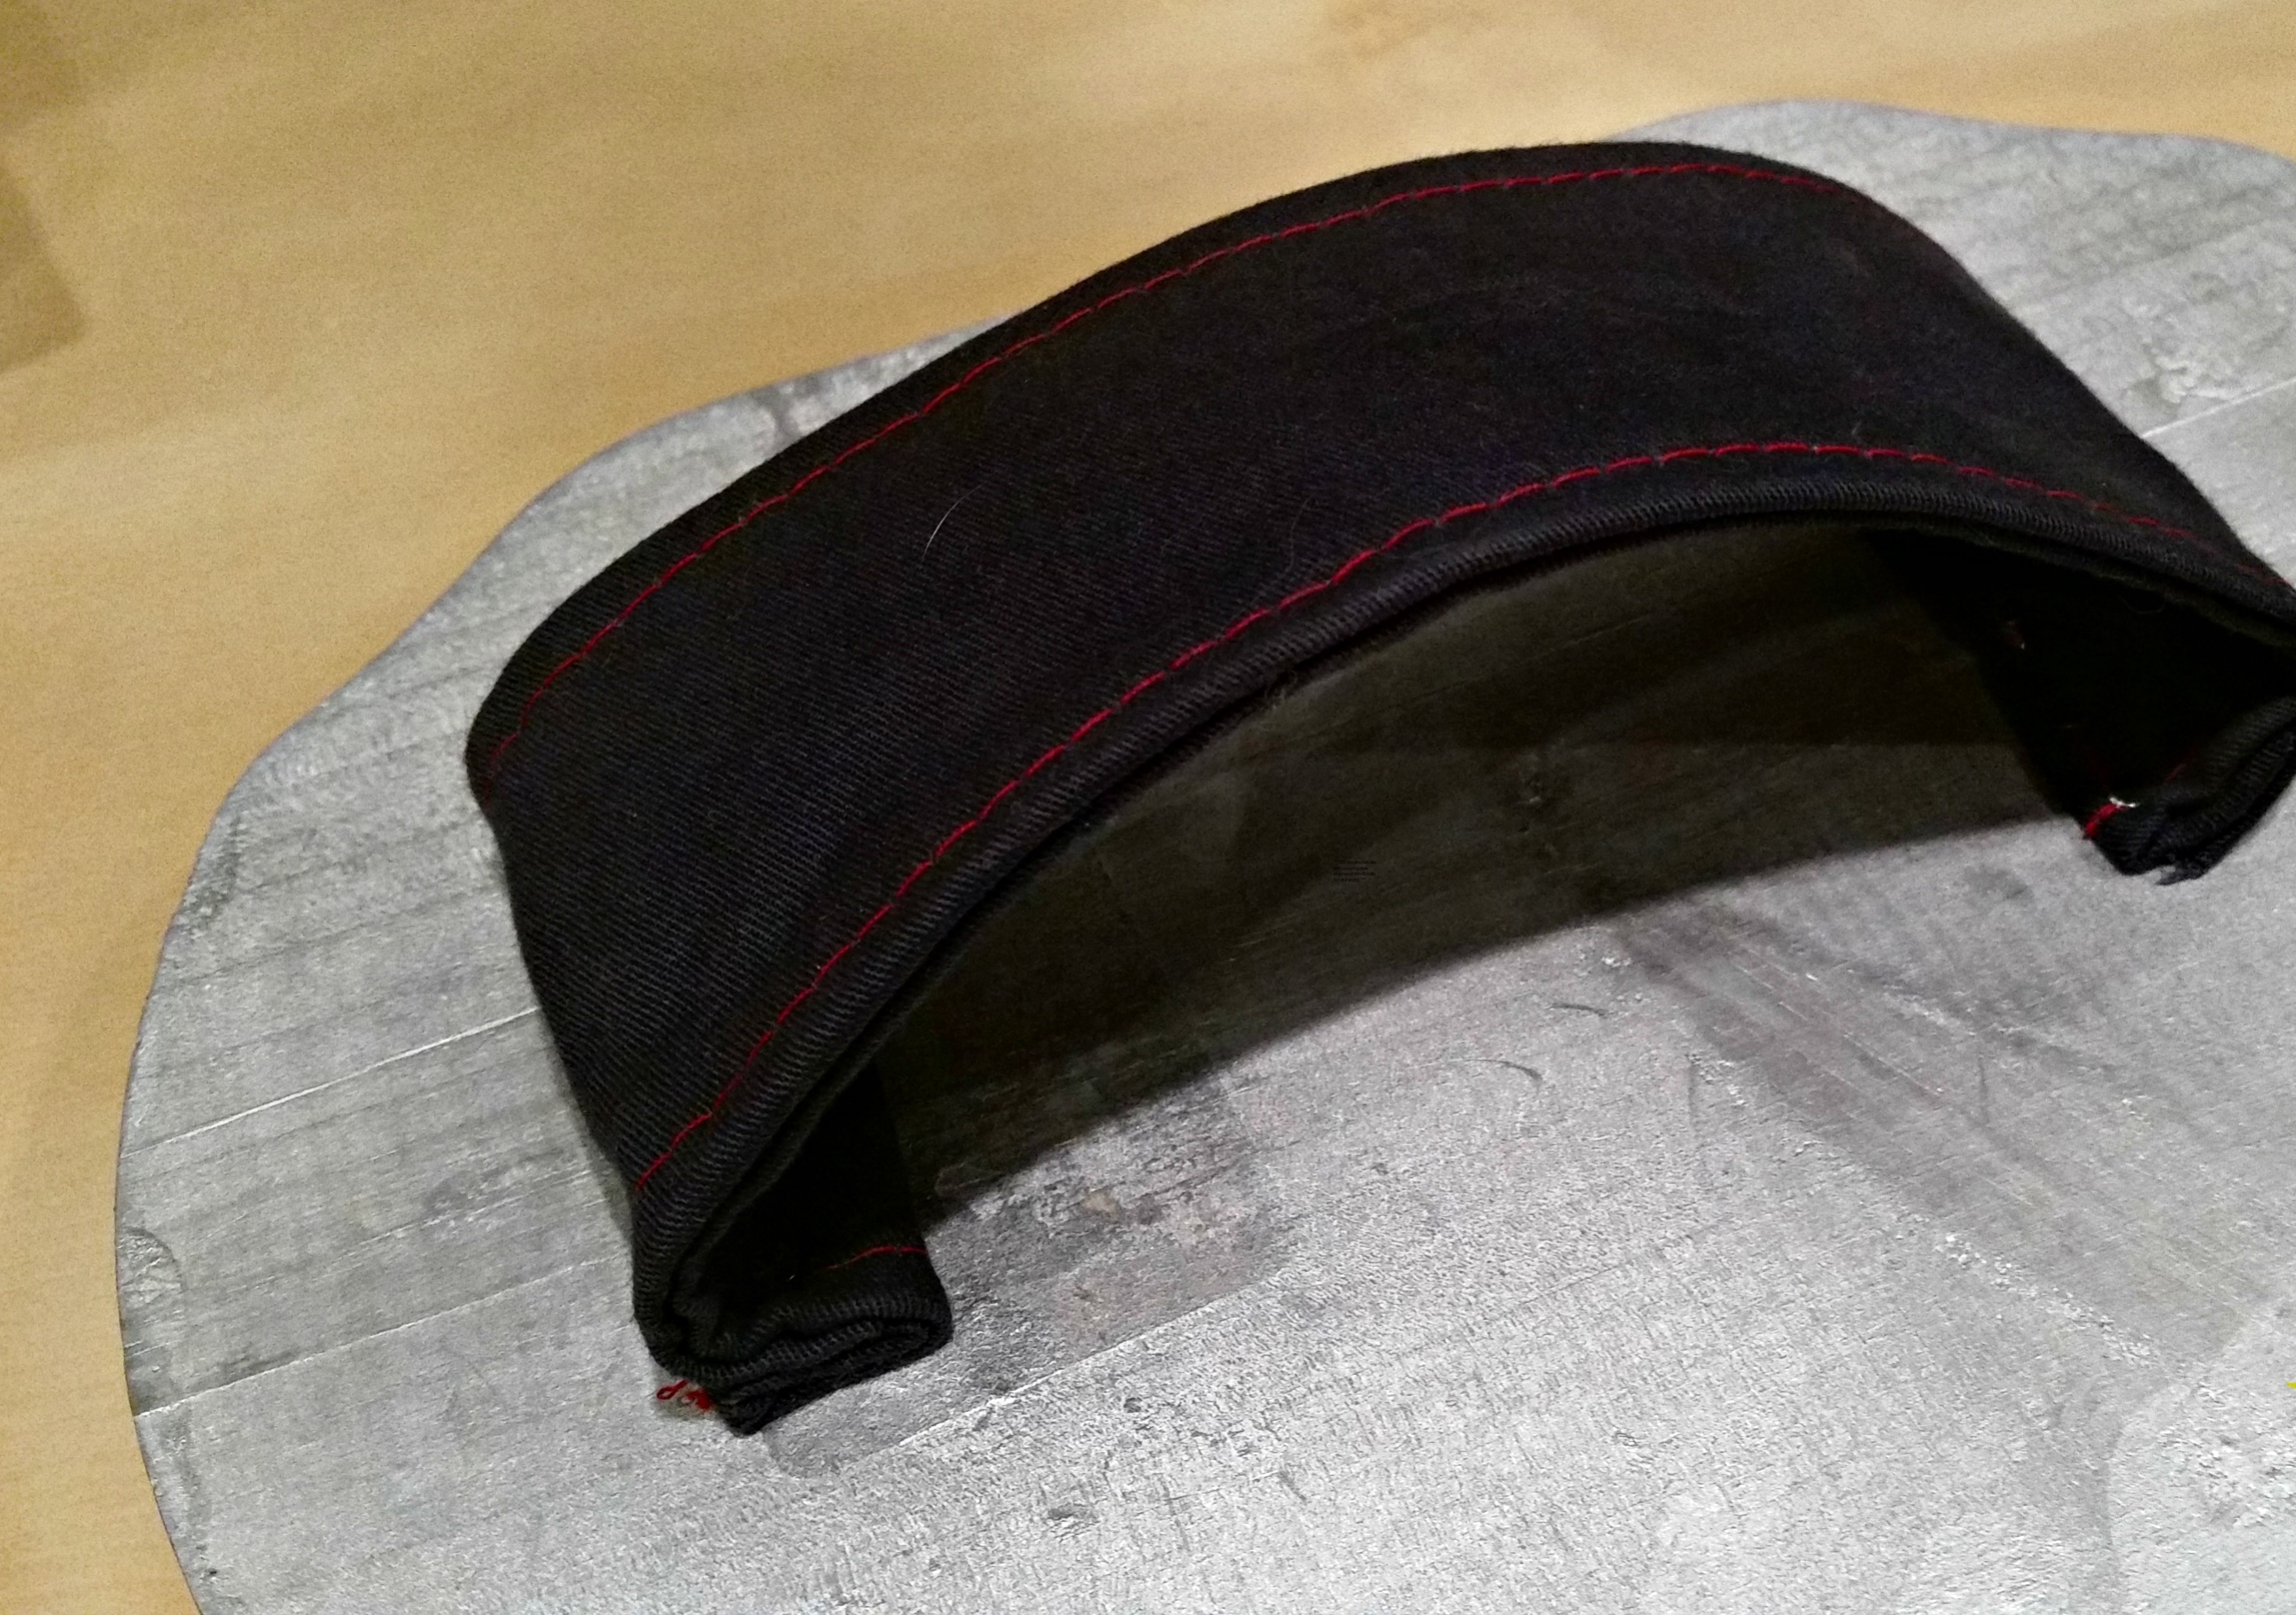 After the paint dried entirely, I applied a thin coat of I folded over some blue scrap fabric to construct a handle. After a little measuring and a top stitch with a complimenting thread, I used some small tack nails to secure the handle into place. I made sure to use something small enough but would also keep the handle in place after some play. You can also opt for construction staples, however, be sure to check the depth of your wood before to make sure nothing "pokes through" that can cut your little one.
 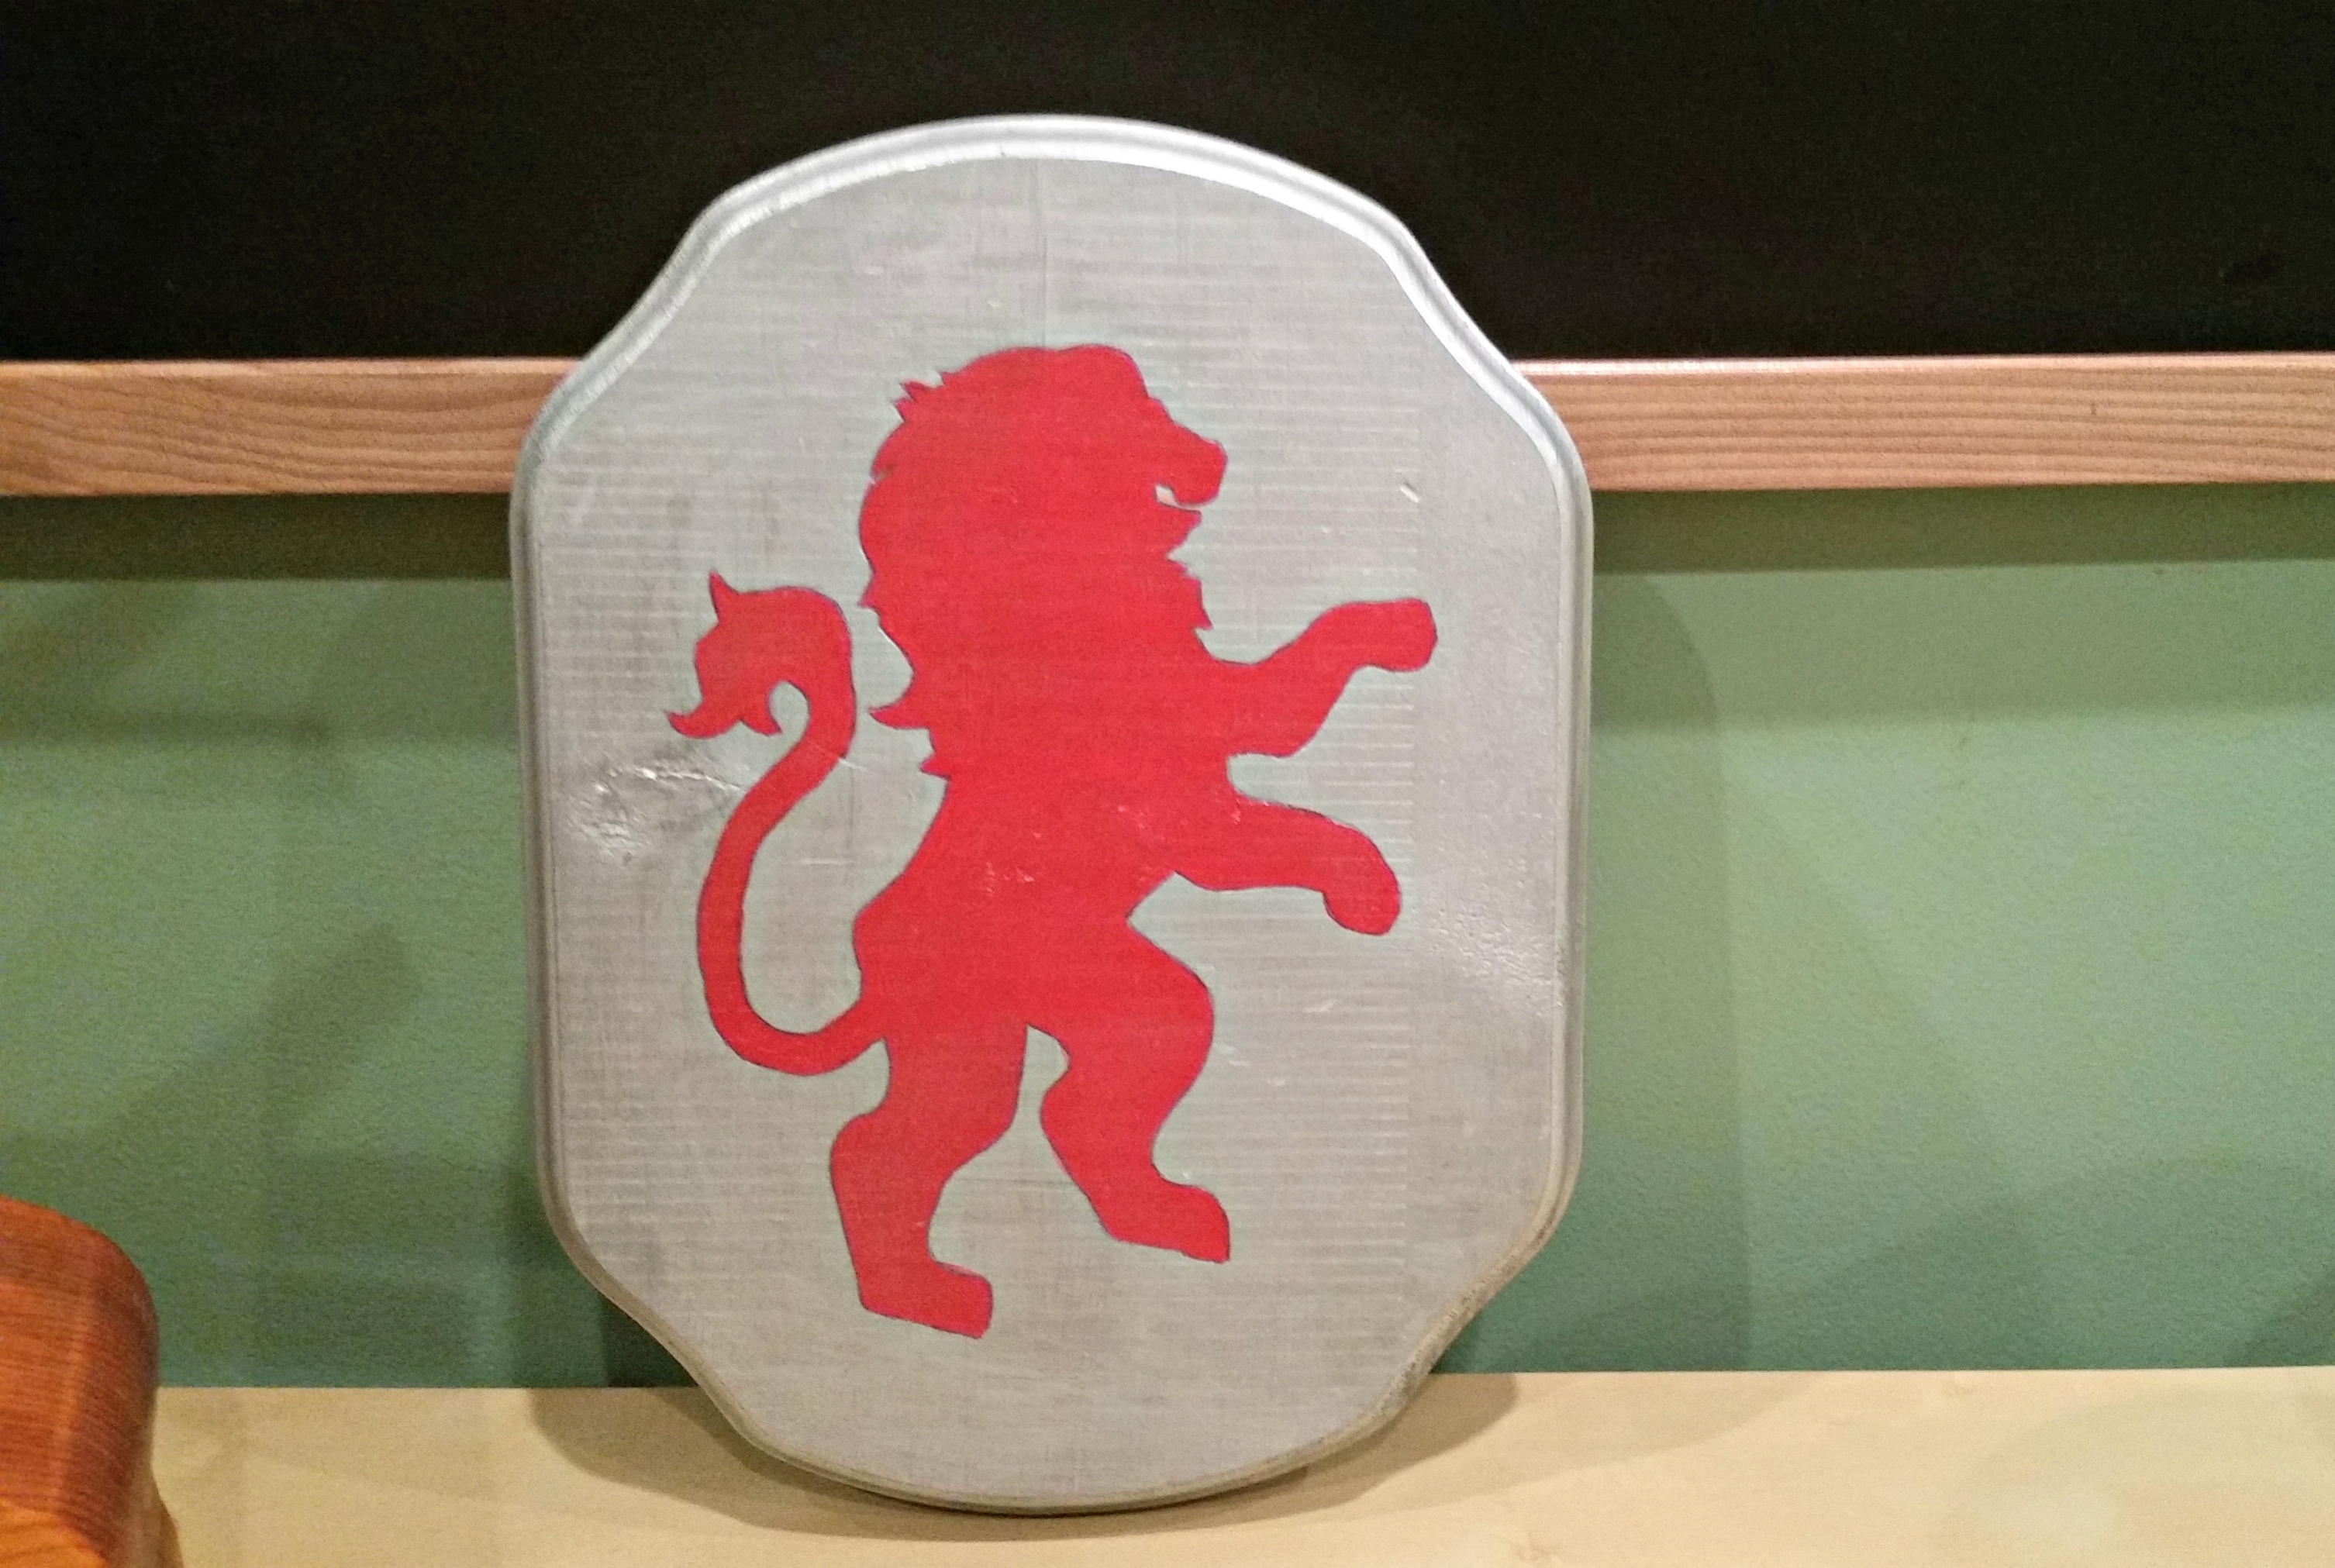 Cost:
Cost: Although the project wasn't difficult I am really happy with how it came out. The colors are so vibrant and the sizing was just right for my little guy. I splurged a little for the spray paint and bout one that is about $8 a can (but I used my 40% off AC Moore coupon), but the wood block was only $1.99. The acrylic paint and fabric and tacks were all things I had on hand, so this piece cost me about $5 - $6 to make, but it matches the costume so perfectly and this is something my little guy can continue to play for a long time if he chooses.


0 comments