
It's (finally) fall! ...and with fall comes all of the beautiful colors of the leaves, cool and crisp weather, and lots of home remodeling for me! Some people Spring Clean, well I prefer the fall to complete all of my remodeling projects and spruce ups.
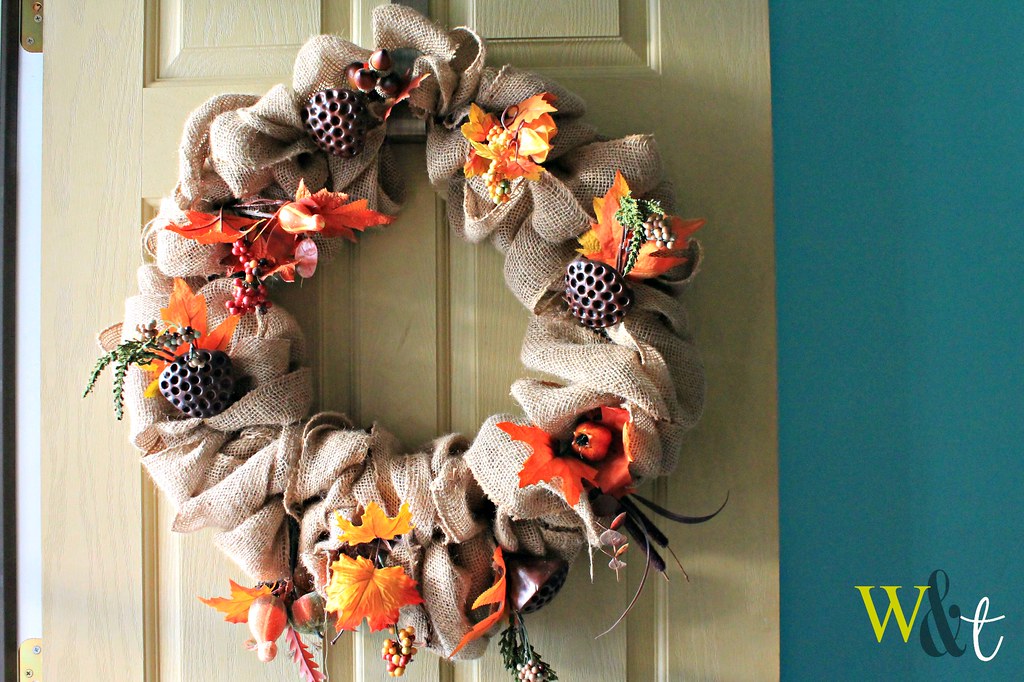
I love getting back into decorating around this time of year, especially because I get to utilize earth tones and textures for the season. I love browns and yellows and oranges all mixed together, so last year I decided to make a burlap wreath for my front door. I coveted the ones on ETSY but knew that I could make something comparable for half of the cost (Thank you AC Moore Coupons!). Although the burlap was about $5 a roll at regular price (and the rolls were on the small size), I simply made a couple of trips for all of my supplies and had the hubby buy some with his own coupon code at the store. In addition to the ring and burlap, I found some adorable little ornaments on clearance for between $.50 to $1 each at the time. In all, I think I spent under $20 for what sells for over $40 (+shipping) online.
I had never made a wreath before, but took the blogosphere for help. I found an easy tutorial at Little Lovely Leaders that had lot of photos to guide me through the process. In all I am proud of how it came out and it held up really well so far (as it was sitting in storage since last year).
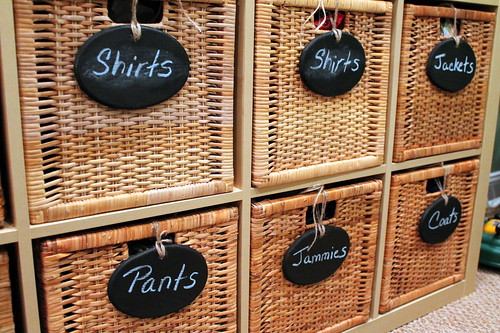 Since I already had an abundance of chalkboard paint from my table and chair project I decided to do another project this past weekend (especially since there was a lovely break in the snow and the sun was shining!). I had seen SignificantOthers'chalkboard painted wood slices before and wanted to do something similar for my son's dresser baskets. My son's room was previously a craft studio of sorts and I already had an IKEA EXPEDIT shelf which I simply added eight of the BRANAS baskets to create a lovely baby dresser. Being that my son's clothes are still rather small the baskets suit my needs just fine and I was able to eliminate the purchase of a proper dresser.
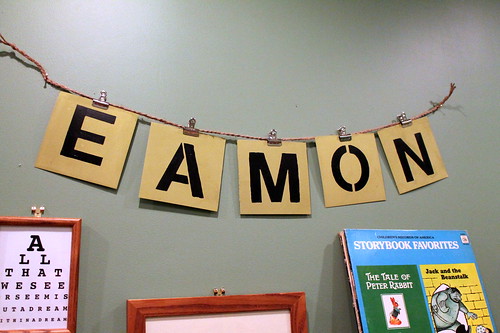
This project cost me a little more than I had initially wanted, but I was also able to utilize materials I already had around the home to make this cute name sign for my love.
While I was at Blick art supplies I came across these adorable little canvases and had the wonderful idea to paint Eamon's name on them and turn them into a hanging sign to place above his new shelf and some artwork I hung above this dresser. Since I am not a magnificent freestyle painter, I was on a mission to find some durable stencils that I could reuse for other projects and that wouldn't bust the bank. Luckily, they were having a sale and I was able to score stencils that normally $7.79 for a bit lower at $5.99. Not much of a score when you think about it, considering that I could have printed free stencils online, but I was in the moment. My idea was to spray paint the canvases using some leftover paint at home and stenciling one letter to each using some acrylics (which I have a huge stash of). I would then use some cheap art clips and some jute I had picked up at the thrift store a while back to create the hanging sign.


 Posts
Posts


